At the end of this post, you'll learn how to:
- Create a new ERC20 token in ethereum and make it available over the Ropsten Test Network. (So that we need not spend real ethers for creation and transaction fees when we do in main network)
- Spend the actual token across available addresses over the same network with some real time transactions using a node js service
Before proceeding to this section, one must have basic knowledge of:
- Ethereum private network, public network, main network and test network
- Any one of the ethereum clients, possibly go-ethereum(geth)
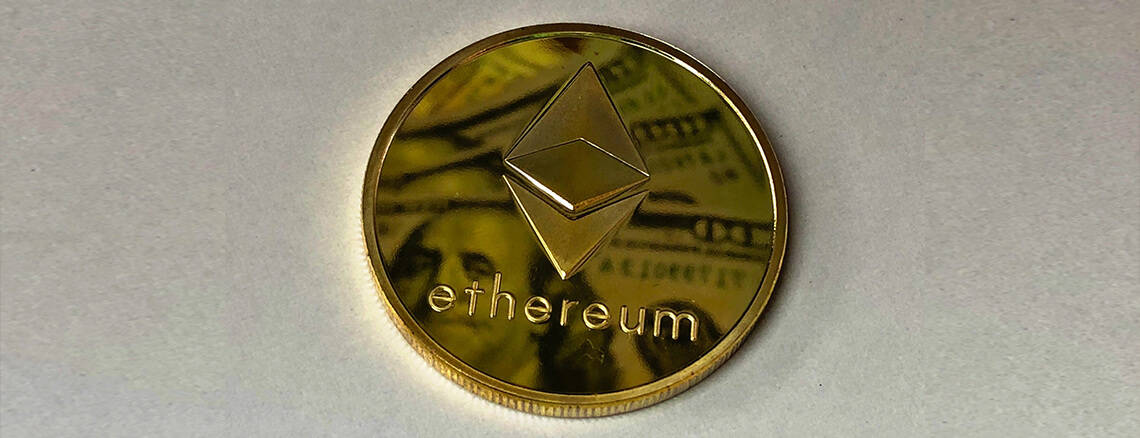
- Creating your own token:
As mentioned earlier, we are going to create and deploy our new token’s smart contract inside the Ropsten Test network. But remember, if we want to monetize our token ever and have it listed in exchanges, we will have to do the same process in Ethereum main network. But, this is going to result in spending real ethers for token deployment and transaction fee.I would recommend following all the steps mentioned here which has pretty much straightforward steps in creating your identity in MyEtherWallet and also having your new token up and running in the test network.At this point, I hope you have the following components handy with you,
- Your own private and public key identities in MyEtherWallet
- Your new token with the corresponding token address where its contract is deployed
- Your MyEtherWallet account loaded with some fake Ethers
- Knowledge in writing basic smart contracts with Solidity language and Remix editor
- What is ABI and Gas in ethereum
Transacting with your own tokens:Now comes the more critical part. We are going to spend the actual tokens over the network in which we created the same.For this we are going to use, Web3 JS - the official javascript API by ethereum to talk with the smart contract that we deployed earlier for our token.2.1 Connecting to the Ropsten network via local node: (Optional)This section is useful for you if you want to run a local node of the Ropsten test network. It means you are becoming a participating node of the Ropsten test network by syncing a copy of the entire blockchain in your local machine and you are then eligible to submit transactions, mine blocks etc.To do so, we are going to use,
- An ethereum client, preferably go-ethereum(geth), used to connect to any existing network and its chain. But it is up to you to use any of the alternatives like parity or testrpc. Download and install geth from here choose to download and make from source which will be pretty straightforward.
Navigate to the directory where your geth executable is located. Typically inside the build/bin directory and run./geth --testnet --syncmode "fast" --cache=2048 --rpc
Here, we are starting geth in fast sync mode and instructing to connect to the --testnet which will implicitly connect to the Ropsten network. Also, adjust the cache memory value as per your system’s config. And --rpc denotes that once sync is completed, a new endpoint will be exposed, typically https://localhost:8545 for RPC to which any external applications can talk to. Your endpoint will be ready only after the entire sync is completed.PS: Please be patient, as initially the sync can take more than 24 hours depending on the network speed since you are syncing the entire Ropsten’s blocks to your local.And reserve atleast 20GB space for <home>/.ethereum/testnet/geth/chaindata folder where your blocks will get downloaded. And it is likely to get incremented day by day when geth is running, as new blocks are added in the test network.But, we have other alternatives to geth like parity which can overcome these issues.2.2 Sending tokens with Web3JS:Now, comes the actual transaction part. As I said earlier, we are going to use the Web3JS API to talk to the smart contract over the network. For this I am going to install the NodeJS implementation of the Web3JS. But, you can choose to go with anything like Yarn, Meteor or even browser-based implementations as mentioned in their notes.Now install the node modules,npm install web3
npm install ethereumjs-txCreate a new nodejs script with the following code.Before copy pasting the code, here are the required variables that you need to declare at the top of the script,
- From and to addresses for the transaction
var contractAddress = <Your contract address>
var fromAddress = <Your public key from MyEtherWallet>
var privateKey = <Your private key from MyEtherWallet>
var toAddress = <Public key to which you need to transfer>
- Chain Id
var chainId = 0x03Id given by ethereum for the Ropsten network. Each network will have its own id.
- Contract ABI
var abi = [{"constant":true.....ABI is nothing but a blueprint of the methods available in your smart contract that you created for your token. To get the actual ABI value, navigate to https://ropsten.etherscan.io/address/<your contract address> . Select Contract source code and copy from ABI section or get it from remix editor you used to compile the code.
- HTTP Endpoint
If you prefer to sync the network locally and run as local node as explained earlier, wait for geth to complete the long sync process and start listening with RPCvar httpEndPoint = 'https://localhost:8545';Else, if you prefer to directly connect to the public Ropsten network without any local node, you can skip the local node connection section which we went through previously.var httpEndPoint = 'https://ropsten.infura.io';
- Gas limit
It is the amount of gas you are willing to send along with your transaction. It is the maximum gas you are willing to spend, any unused gas will be returned back to you after the transaction. Gas limit for ETH transfer is 21000 and for tokens it may range from 40000 to 200000. Convert it to Hex and assign it to the variable.var gasLimit = ‘0x...’;
- gasPrice
The amount of gweis you are ready to pay per gas for the transaction. Higher the gas price you offer, sooner your tx will be mined.Transaction fee = gasUsed * gasPrice gweis.var gasPrice = gasPrice in hex
- Transfer amount
var transferAmount = The actual value to be transferred plus append as much zeros as your token’s decimalExample, if you want to transfer 400 tokens, and your token’s decimal value was declared as 10 in your contract, thenvar transferAmount = 4000000000000;(I have appended 10 zeros)The Actual Code:Once you have all the above variables initialized, add them to the below script,'use strict';
var Web3 = require("web3");
var Tx = require('ethereumjs-tx');
var web3 = new Web3(new Web3.providers.HttpProvider(httpEndPoint));
var count = web3.eth.getTransactionCount(fromAddress);
var contract = web3.eth.contract(abi).at(contractAddress);
var rawTx = {
"from": fromAddress,
"nonce": "0x" + count.toString(16),
"gasPrice": gasPrice,
"gasLimit": gasLimit,
"to": contractAddress,
"value": "0x0", // Indication that we are not sending any ethers but our own tokens
"data": contract.transfer.getData(toAddress, transferAmount, {from: fromAddress}),
"chainId": chainId
};
var privKeyBuffer = new Buffer(privateKey, 'hex');
var tx = new Tx(rawTx);
tx.sign(privKeyBuffer);
web3.eth.sendRawTransaction('0x' + tx.serialize().toString('hex'), function(error, tHash) {
if (error)
console.log(error);
else
console.log(tHash);
});And then if you simply run this node script in your cmd prompt, on successful completion, you will see a hash value printed in console. That is the hash of the actual transaction that took place.Now wait for few seconds if you are running a local node, because the transaction has to be submitted locally and then synced with the actual Ropsten network.Now navigate to https://ropsten.etherscan.io/tx/<tHash>You can see the status of the transaction. Now, if you go to your public address, you can see the actual no of tokens reduced from your wallet and added to the receiver address.Congratulations! You have now transacted with a real time token created by you. Once you are done, you can repeat the same token creation in ethereum main network to have real time monetized trading, assuming you have some real ethers in your account ready to be spent.


.png)


.png)

.webp)