SiriKit was exposed for developers to utilize in their custom apps in iOS 10. With iOS 11, Apple has extended the capabilities a lot more.Here, we hope to give you a very quick overview about Sirikit in iOS 11 and the implementation checklist on how you can set it up in your app to delight your users and improve app engagement. The following is a mix of our understanding from our experience with SiriKit and info from Apple developer documentation.The Basics
- Your app can integrate with Siri to let the user perform certain tasks in response to spoken commands and questions.
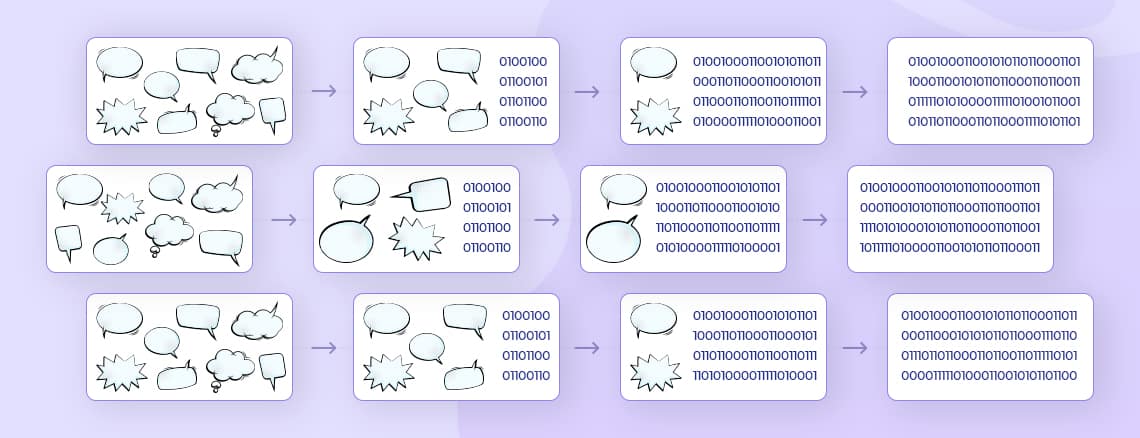
- Siri handles all of the language processing and semantic analysis needed to turn these spoken requests into instructions our app can handle.
- Your app needs to
- define the tasks it supports
- validate the info received
- provide information for Siri to present
- take action
- Info from your app’s response is spoken by Siri and appears in the Siri interface.
- If needed, your app can provide a custom user interface for Siri to display.
The Specifics of SiriKit
- Siri can understand requests from apps falling under its expected domains (Apple has categorized specific type of app services that are now supported by Siri and call these categories as domains). As of today - Apple supports these domains - VoIP Calling, Messaging, Payments, Lists and Notes, Visual Codes, Photos, Workouts, Ride Booking, Car Commands, CarPlay and Restaurant Reservations)
- SiriKit defines the types of requests—known as Intents—that users can make. Related intents are grouped into domains to make it clear which intents we might support in our app.
- SiriKit also supports Intents UI for displaying branding and other customized content in the Siri interface after the app fulfills a user request. Creation of this is optional.
- Your app needs to create an Intents App Extension that receives user requests from Sirikit and turns them into app-specific actions. (think of this as a sub app that resides outside the main app and is an agent that acts on behalf of your app)
- Your app extensions never (or rarely) communicate with the user directly. Siri typically handles all communication with the user and call out to our extensions only when it needs us to provide information.
- Warning: your app’s Siri experience should never include advertisements, marketing, or in-app purchase sales pitches.
The Specifics of Each DomainEach of the eleven domains supported by Apple have specific kind of requests that they can recognize and respond to. Head to the domain relevant to you in the developer site. Here we aim to provide you with a generic sequence of steps applicable to any domain. If you need help with anything specific, please reach out to us.The Steps1. Creating the Intents App Extension
- Enable Siri capability from project settings
- Edit App ID to include support for Sirikit and edit necessary Provisioning profile from developer.apple.com
- Add an intents app extension target to the project. This will also ask to add a new scheme, you need this!
- Add necessary keys for the IntentsSupported key in the extension’s info.plist under NSExtension.
- Check that project signing is automatically managed for the extensions.
- Verify if unlocking is mandatory for the features you need.
- Build and test run in device (or if using simulator, check note below).
2. Requesting permission to use Siri.
- Request authorization from app and not the extension.
- Provide meaningful explanation for why this permission is needed in your app’s info.plist under NSSiriUsageDescription key.
- Siri and Maps may assist in the authorization of your Intents extension when the user first tries to use it. Specifically, if the user interacts with your extension and its authorization status is not yet determined, Maps requests authorization automatically on our extension’s behalf.
3. Dispatching Intents to Handler Objects
- Create separate intent extensions to handle each of the intents supported by the app.
- Create a framework of service methods from main app so that this can be shared with the extension app as well. Or use a app group to share data between the main app and the extension. (Need help? Write to us)
4. Handling Intents
- Reference the framework and its methods from the extension app and write bridges to handle intents with the framework.
- Resolve, confirm, and handle user requests for the app's services.
- Resolve - your extension first needs to confirm that all of the necessary information to meaningfully fulfill the user request to Siri are present. If not, Sirikit provides handler methods specific to each intent to ask subsequent questions to user to get the missing information.
- Confirm - your extension needs to confirm that all the parameters necessary for the extension are resolved. This is a landing area before the user request is actually handled by the extension and the app. Use it to check for connectivity, service availability etc.
- Handle - you now have an intent that can be acted upon. This is when you connect to your app’s services using the framework you created previously to handle the action. Once you complete the action, return control back to Sirikit with a status.
- Customize Intents UI if necessary. Sirikit offers you the capability to customize its response UI. You could possibly add a logo, some relevant info to match your app’s UI and controls to continue in app.
The Initial Hiccups
Once you have had practice setting everything up and integrating your app, things are a breeze. But the initial few times you try this, you might get frustrated. There are some very practical problems you might face.
- You might have forgotten to add the intents you intend to support in your extension’s info.plist file (not the app’s info.plist). And with this, no errors will be shown and Siri will continue to tell you “I’m sorry, AppXYZ hasn’t set that up with me yet.” With all your excitement in getting it to work, you might overlook missing intents or them being declared in the wrong file.
- Every time you make a change in the implementation of the extension, build the extension and try testing the app. Odds are that you will not see the expected result. Most probably it will just tell you. “Continue in AppXYZ” instead of actually handling your request without opening the app. Don’t be disheartened. If you are sure you have followed the steps meticulously, just build and test once more and then leave it for sometime (we recommend a good night’s sleep) and check again. It will have started working! Apple warns us that it might take some time for them to process that our app and extension are trying to do something different this time. It sure is frustrating, but hey, dev life!
- You might not find enough examples matching your particular scenario or use case or even your error. We think the documentation will mature over a couple of iterations in the future. It is still early stages for everyone!
- Make sure that you aren’t fiddling with those header search paths in each of the schemes. Oh the horror!
- Debugging your extension can be, umm, not a very smooth experience and not even consistent. Again, don’t lose heart. Patience and clearing your head to review your steps will help better than debugging those ninja errors.
Testing using SimulatorWith Xcode 9, Apple has enabled testing SiriKit integration in simulators too (thank the good heavens for this!). You can edit the extension scheme, head to the Run setting and key in a test user request in the Siri Intent Query text box. Now run the extension in the iOS 11 simulator of your choice.The GuidelinesThese are the guidelines from Apple on the integration -
- Respond quickly and minimize interaction. People use Siri for convenience and expect a fast response. Present efficient, focused choices that reduce the possibility of additional prompting.
- Take people directly to content. Transitions from Siri to your app should go directly to the expected destination. Don’t show intermediary screens or messages that slow down the experience.
- If appropriate, define custom vocabulary. Help Siri learn more about the actions your app performs by defining specific terms people might actually use in requests, like account names, contact names, photo tags, photo album names, ride options, and workout names. These terms should be non generic and unique to your app. Never include other app names, terms that are obviously connected with other apps, inappropriate language, or reserved phrases, such as “Hey Siri.” Note that any terms you define are used by Siri to help resolve requests, but aren’t guaranteed to be recognized.
- Consider defining alternate app names. If people vary the pronunciation of your app's name, you can provide a list of alternative names to increase flexibility when targeting your app with Siri. For example, a UnicornChat app might define the term Unicorn as an alternate app name. Never list other app names as alternate names for your app.
- Provide example requests. Provide Siri with example phrases to show in the guide that appears when you tap the Help button in the Siri interface. Use these phrases to teach people the easiest and most efficient way to use Siri with your app.
- Be relevant and accurate. Make your app’s response relevant to the user’s current request and expectations. Don't perform a different action.
- When a request has a financial impact, default to the safest and least expensive option. Never deceive the user or misrepresent information.
We hope we have given you a practical checklist for your Sirikit implementation. If you need any help or additional info, please feel free to reach out to us. Also, did you check our overview of the Voice Assistants in the market and possible use cases? Head to our previous blog post.IdeasITAre you looking to build a great product or service? Do you foresee technical challenges? If you answered yes to the above questions, then you must talk to us. We are a world-class custom .NET development company. We take up projects that are in our area of expertise. We know what we are good at and more importantly what we are not. We carefully choose projects where we strongly believe that we can add value. And not just in engineering but also in terms of how well we understand the domain. Book a free consultation with us today. Let’s work together.


.png)


.png)


.webp)